And now, continuing from yesterday,
for the leaves...
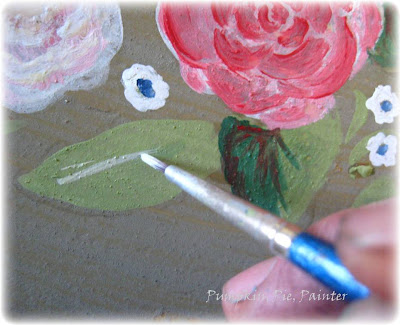
Once the light green leaf color was dry,
I loaded my brush with a darker green for the shading.
I loaded my brush with a darker green for the shading.
I chose various leaves to shade, starting at base of the leaf,
and working out to the tip.
When shading, it is often best to use the complementary color to shade with
(color opposite itself on the color wheel).

Because of this, I then picked up some red paint with the brush...
and painted it at the innermost part of the leaf,
where the flower might be slightly shading it.
For more variation, I then cleaned my brush,
and mixed some white with the lighter green leaf color...
and used it to add some veins and highlights on some of the leave
as of light was hitting them.
It's just a random choice, just as real leaves are when you look at them.
Once the leaves were done, I moved on to shading the background.
I chose mixing black with some brown.
It's up there on the top left corner of the picture below.
I'm afraid my painting pallet is not very organized.
I added just a touch of water to this paint to make it a bit transparent.
I added some blue to the centers and stems of the tiny white flowers
and then dotted some yellow in their centers to finish them off.
For the edge of the tray, I loosely double-loaded the paintbrush with red and yellow.
(For double-loading instructions, you can click here: http://www.youtube.com/watch?v=ZjeBRwDD6t4)
This was the tray before waxing with brown and clear wax.
And this is the completed tray. I used a lot of the brown wax on this piece because I wanted it to look older.
That's it!
Have a great weekend.
If you don't have any painted roses,
try it,
or perhaps you can treat yourself to a bouquet of real ones!
Linking up to:


I would have never thought to use red on the leaves. This was interesting to read, from a non-artistic person's point of view.
ReplyDelete=)
Thank you, Sue. You are such a sweet commenter. :)
Delete