
Home-made snowglobes are such a fun idea.
Have you seen them?
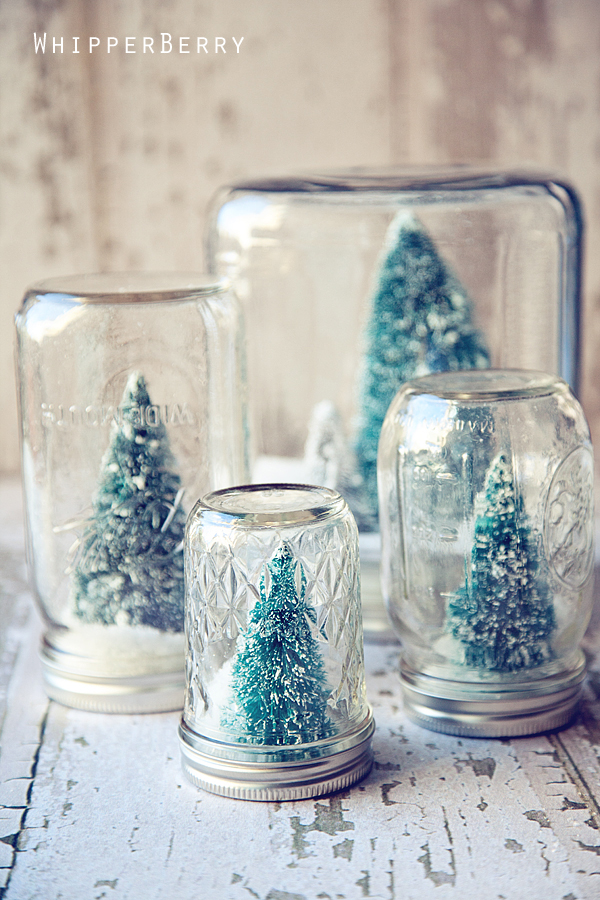


Such a festive idea!
I decided to make some to sell for the Christmas craft sale this year,
but I wanted some snowmen in mine.
I started out by cutting a cardboard base
a bit smaller than the lid of the jar.

I then found some old material from a shirt I didn't want
and cut it into a piece,
folded it under,
and hot-glued it to the cardboard base.

It was lumpy, but I just wanted to make sure that there weren't any loose ends up,
so it would look like a snowy landscape...
eventually.

For my snowman,
I took a small piece of material,
put a strip of hot-glue on the edge and rolled it up.
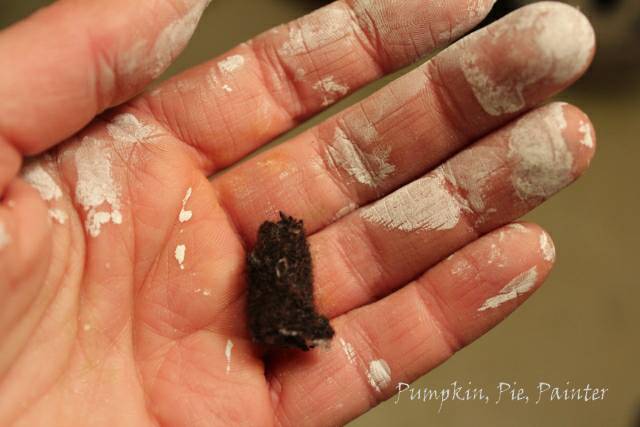
Because he looked a bit too tall, I cut him down to the size I wanted.
(Sorry about my hands. I was working on several of these at different stages at the same time;
I think I have crafting ADD).

I then hot glued the "snowman" to the "snowy landscape."
Mixing about 2 parts paint
to 1 part plaster of Paris (slightly more of this til I got the consistency I wanted)
I painted this thickly onto the whole thing.

It was then allowed to dry a day or two.

This is how it looked from the side.
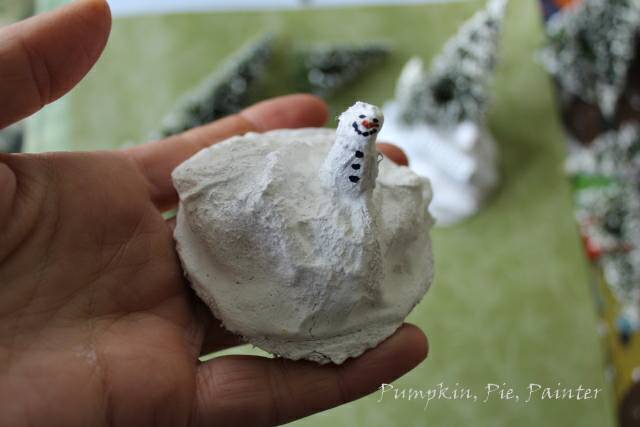
I then added the face, buttons,
and a scarf (although this guy didn't get one;
on some I added yard scarves, so maybe he was one of the warmer snowmen).
I had found a bag of train landscape trees at the charity store
(one never knows what will turn up there),
so I painted them with the same paint/plaster of Paris mix
when I was doing the snowmen,
so that they would be dry and ready for use as well.

Using some plumber's repair putty (Loctite),
as I had on my sewing machine and my chair,

I broke off pieces and kneaded them up to use as a bonding substance...

to hold the trees and fencing
(also train landscaping pieces from the charity store)
in place.
I find that this works best at really hold well;
the glues that I have tried never seem to hold things in place well,
and this putty sets up really quickly.

After the putty dried, I painted it with white paint,
and I then glued on some clear glass glitter.
The snowscapes can then be placed in the lid
with some artificial snow or even some epsom salts.
I sent all my jar snowglobes to the craft shop,
but I did make one for myself using an old cheese dome
and a wooden bowl I painted up.
I set it on the kitchen table when it was done,
and it was fun seeing the kids' reaction to it when they came down for breakfast the next morning.

Who doesn't love seeing a happy snowman in a world of white?

Linking up to:
Abowlfulloflemons
Savvysouthernstyle.net
Twiggstudios.com
Tatertotsandjello
FunkyjunkinteriorsHomespunhappenings.html
Alittleknickknack.com
DIYshowoff.com
Aboverubies
Cornerstoneconfessions
Adiamondinthestuff
Time-warp-wife
Homestoriesatoz
Astrollthrulife
betweennapsontheporch.net

Super cute, aren't you clever! I love the addition of the snowman. And I adore that you curved the trees...they look so windblown. You are making me want to try this...oh, no... :)
ReplyDeleteExcellent photos! I love this project but never know what to use for the snow. Epsom salts! Thanks for sharing. :)
ReplyDeleteLove these. I new there was a reason I was saving all our pickle jars - now if I can find some cheap trees we'll be set!
ReplyDeleteSo cute! The lights really set it off. :)
ReplyDelete-Amy http://fairandfickle@blogspot.com
Love your new header! Am looking forward to getting my jars finished.
ReplyDeleteThat's one of the cutest I've seen!
ReplyDelete=)
You are amazing!! So creative! They look great! Thank you so much for sharing this at Rustic Restorations Weekend!
ReplyDeleteLove this! What a great idea to use the t-shirt as your base. I firmly believe we have an over abundance of old t-shirts in landfills! So this is perfect! Love the dome over the top too.
ReplyDeleteI agree with Tammy- You're so creative. Pat