Showing posts with label Chalk Paint. Show all posts

Friday, November 16, 2012

How to Paint Roses.


I used to teach art lessons.
I miss it.

I took some pictures so that I can give you one.
May I show you?

Please.


My own kids are not ready for painting roses.
They are too hung up on horses, self-portraits, and venus fly traps right now.
(Can you tell which item is my son's favorite to draw?)

It is easier than you think.
I'll show you.

Okay, first we start with whatever it is we want to paint on.


This is a small tray that I base-coated with some milk paint.

To start the roses, I painted the basic form of the rose,
which is kind of like a cloud shape.


I filled it in with white.


 I also made a couple of yellow roses,
not rinsing the white off the brush.

The smaller white form,
just a smaller oval, will be a bud.


 I filled in with some leaves and greenery.

I tried to make the bigger leaves somewhat rose leaf shape.
I'm not going to be real tight with the details, so this should be fine.
 I also painted in the rough forms of some smaller flowers,
baby breath type.


 For the pink rose,
I let the white base coat dry so that it would have a background that wouldn't
blend and then disappear when I added the pink.

When it the white was dried, I added some pink in the center...
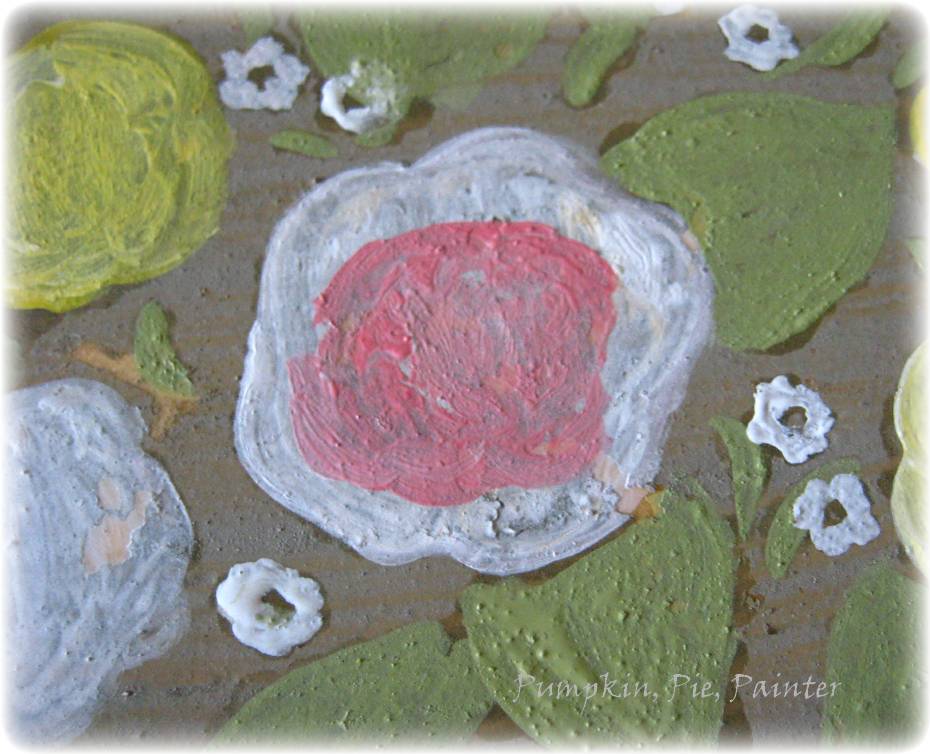


 and then added a touch of white on the edges and blended the edge of the pink
with the white edge.

(This picture shows you a pink-painted middle as well as one that has been blended.)


This is going to be an open-faced rose,
so I add two sloppy commas facing each other for the center.

 Then I add some more loose commas around them,

  
getting slightly larger as they go out...


just as rose petals do.


I blended the pink out to the edge of the petals on the outer rim of the rose,...


and then filled my brush with straight red to outline the outside petals.


For a rose that is not fully opened,
making a thicker comma or bowl shape in the middle helps create this illusion.


Lighter yellow petal strips, made from larger comma shapes,
makes the rose look like the light is hitting it from above.
(I did not rinse my brush after painting the pink roses.
This helped connect the two roses, almost like the yellow roses are reflecting the pink ones.
Sometimes shading like this makes the picture more cohesive.


Darker, larger comma-shaped petals on the bottom make the rose look shaded there.


  I next loaded my brush with some white
and added little bits of it around the roses,
coming from the direction I had already shaded it for
(shining in from the top).


A light pink rose or white with some splash of color
is made by using white to make the comma shapes on the rose
against the very light pink background.


A bloom is made by simply adding just a touch of pink at the base of the flower.
A white zig-zag going up the flower helps to make it look more like a bud.


Once you have the basic rose skills down,
you can use it with detail,
of loosely, like I did with this mirror.


If a small paintbrush with some slightly watered down paint is used,

 a more delicate image may be achieved.
 (This table was painted with Annie Sloan's Chalk Paint in Graphite and Arles)


Using a single color, like I did on this table top,
can be a fun alternative to mastering all the colors...


In my next post, I'll finish this painting by giving you a quick tutorial on painting the leaves.

This is how it looks when finished.


(If you are interested, this small tray, the white and black mirror that peaked in on a photo,
and the side table are at my friend's craft sale,
this weekend and next.)


Linking up to:


Tip Junkie

Friday, September 7, 2012

Violet's PINK Dresser and Treasure Box Redo.


The Dresser for Violet's Room:


Supplies used for Dresser:
 Annie Sloane Chalk Paint in Paris Grey used as the basecoat for dresser and pulls,
A paint mix of Red and white to make pink for the top coat,
Chalk for etching the designs on the drawers,
Yellow, purple, blue, and light pink acrylic paint for the details,
Clear wax for the front of the drawers/brown and clear wax for the pulls,
4 Glass knobs,
Paint Brushes.


Violet's Painted Treasure Box


Supplies for Treasure Box:
Glue gun and glue stick, white paint, purple paint, spray varnish, rag and paint brushes.


Can you tell that Violet likes color?


Linking up to:
Funkyjunkinteriors.net 
Missmustardseed.com
Cedarhillranch.blogspot.com
Adiamondinthestuff
Homesteadrevival.blogspot.com 
Hiphomeschoolmoms.com
Abowlfulloflemons
Thebettermom.com
Time-warp-wife
Funkyjunkinteriors.net
Homespunhappenings
Firefliesandjellybeans.com
Gnowfglins.com
Redouxinteriors.com
Commonground-do.com
Shabbynest.blogspot.com
Chiconashoestringdecorating.blogspot

Thursday, June 28, 2012

Around the House Link Party


Welcome to my first link up I am calling:
Pumpkin,Pie,Painter

I'd love for you to join me by linking up what's going on at your house this week.

Here's a bit of what's happening around our house.


I'm not sure why,
but Lillie's nap time always seems to turn into a few moments of the day I look forward to.


She still has that baby smell
and lying next to her for a few minutes ...


turns into...


a happy thing.


Levi can't seem to let the child go to sleep without a few moments, too.


This is his sleeping pose.


A slight distraction sometimes develops.


Moving on:
Violet and I have decided to begin her room renovations.

The mess and furniture in there need to be managed and sifted through.


I swapped this dresser from Levi's room
and gave Levi her taller bureau.


I base-coated this while the fish sticks were cooking for supper: 
that's how easy and fast chalk paint is.


This is not the final color: just the base coat.
Can you guess what the top coat will be?


While chatting with another home-school mother at church,
she mentioned the curriculum she used to teach her kids to read:
Happy Phonics.

I thought it was funny as I had just looked through the very thing.

My Mom bought me the packet a few years back,
and I finally thought I might look into it for Levi.


It would be nice not to have to buy him a reading curriculum if I can use this one.


The extension on this flower bed is finished:
I planted the flowers that had been waiting since a month ago;
A bit of mulch finished it up.

Our vegetable garden in the background is making great progress.
My Farmer does such a great job with it.


We've been picking several quarts of berries every other night or so, too;
I freeze them on plates and then bag them up so they won't be stuck together.

It's a fun and tasty job to do.


I would love to see what you have been up to!


Feel free to link up anything you've been working on
or enjoying this week.

Share a project, a recipe, an accomplishment,
whatever is happening around your house!

I'd love for you to link back to my blog.
Here's a button you can take with you!


Pumpkin,Pie,Painter

I will have this link party on Wednesday from now on.
I have been having internet connection problems this past week,
so it's a bit late getting it up.


The winner of the bird block giveaway is...

Marge!

Send me your address, Mrs. M, and I'll ship them out to you! :)


Joining the fun at:
Savvysouthernstyle.blogspot.com
Funkyjunkinteriors.net
Nominimalisthere.blogspot.com
Gnowfglins.com
Missmustardseed.com


Monday, April 23, 2012

Making My Old Cooking Utensils Look...Old.

I am sure that I mentioned that I love colorful,
vintage 
kitchens.


I have been working at making my kitchen
what I love
with usable "vintage" pieces,


so here is a simple one that helped improve its area.


First,
my Farmer is a proponent of


He has a point.
(It's a bit dull,
but it's a point,
and sometimes it forces colorful alternatives).


I received this utensil set for a wedding gift.
It is a sturdy set that has lasted pretty well,
although a few of the pieces have broken
and my own "most-needed" pieces seem to gather here as well.

 Through the process of need and elimination,
I gathered my most useful utensils.


However, something about the look of them...

was not culinarily inspiring.


If you have been visiting here very long,
I am sure you already know
that I love Annie Sloane's Chalk Paint.


 Using my never-ending can of Antibes green
I painted my utensil handles:
wood, plastic, and metal alike.
I added a white line of acrylic paint for some detail.


I let them sit for a day afterward
so the paint was cured well,
then roughly sanded off some of the paint.

I used Fiddes and Sons clear and rugger brown wax:
Here you can see the difference between the waxed utensil
and the one still waiting.


Truly, the wax seals the paint
and reinforces its permanence.


After waxing,
the piece looks dingy and dry,...

 like this.


 After buffing with a lint-free rag...


it then looks like this.


Here's a sample of it,
mid process,
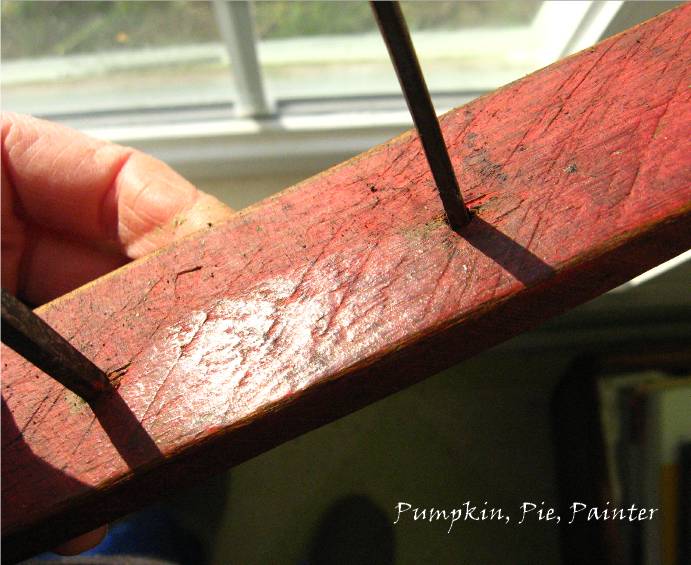
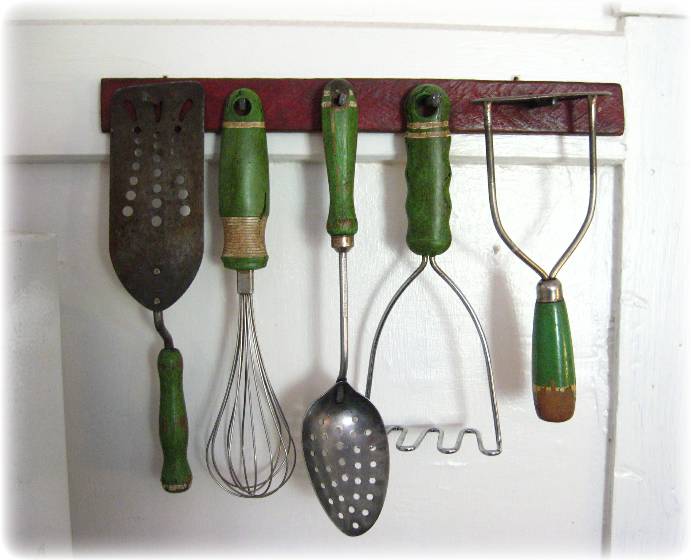
on the wooden nail peg rack I had painted with red acrylic paint.


I have used the utensils for the past two weeks,
and I'm happy to say they still look as good as the day I finished them...


and I am not one who is light on her utensils.


Handy, matching, and

vintage


(Okay, cheater vintage).


Now I can cook like the best of 'em.


(A woman can dream, can't she?)